Island Peak Climbing Guide: Imja Tse 6,189m
- March 19, 2026
Namaste well come to Nepal Dreaming of climbing Island Peak? Our comprehensive guide covers everything from permits and cost to the grueling summit day, gear checklists, and vital safety tips for this classic Himalayan trekking peak.
Introduction: The Island in the Sky
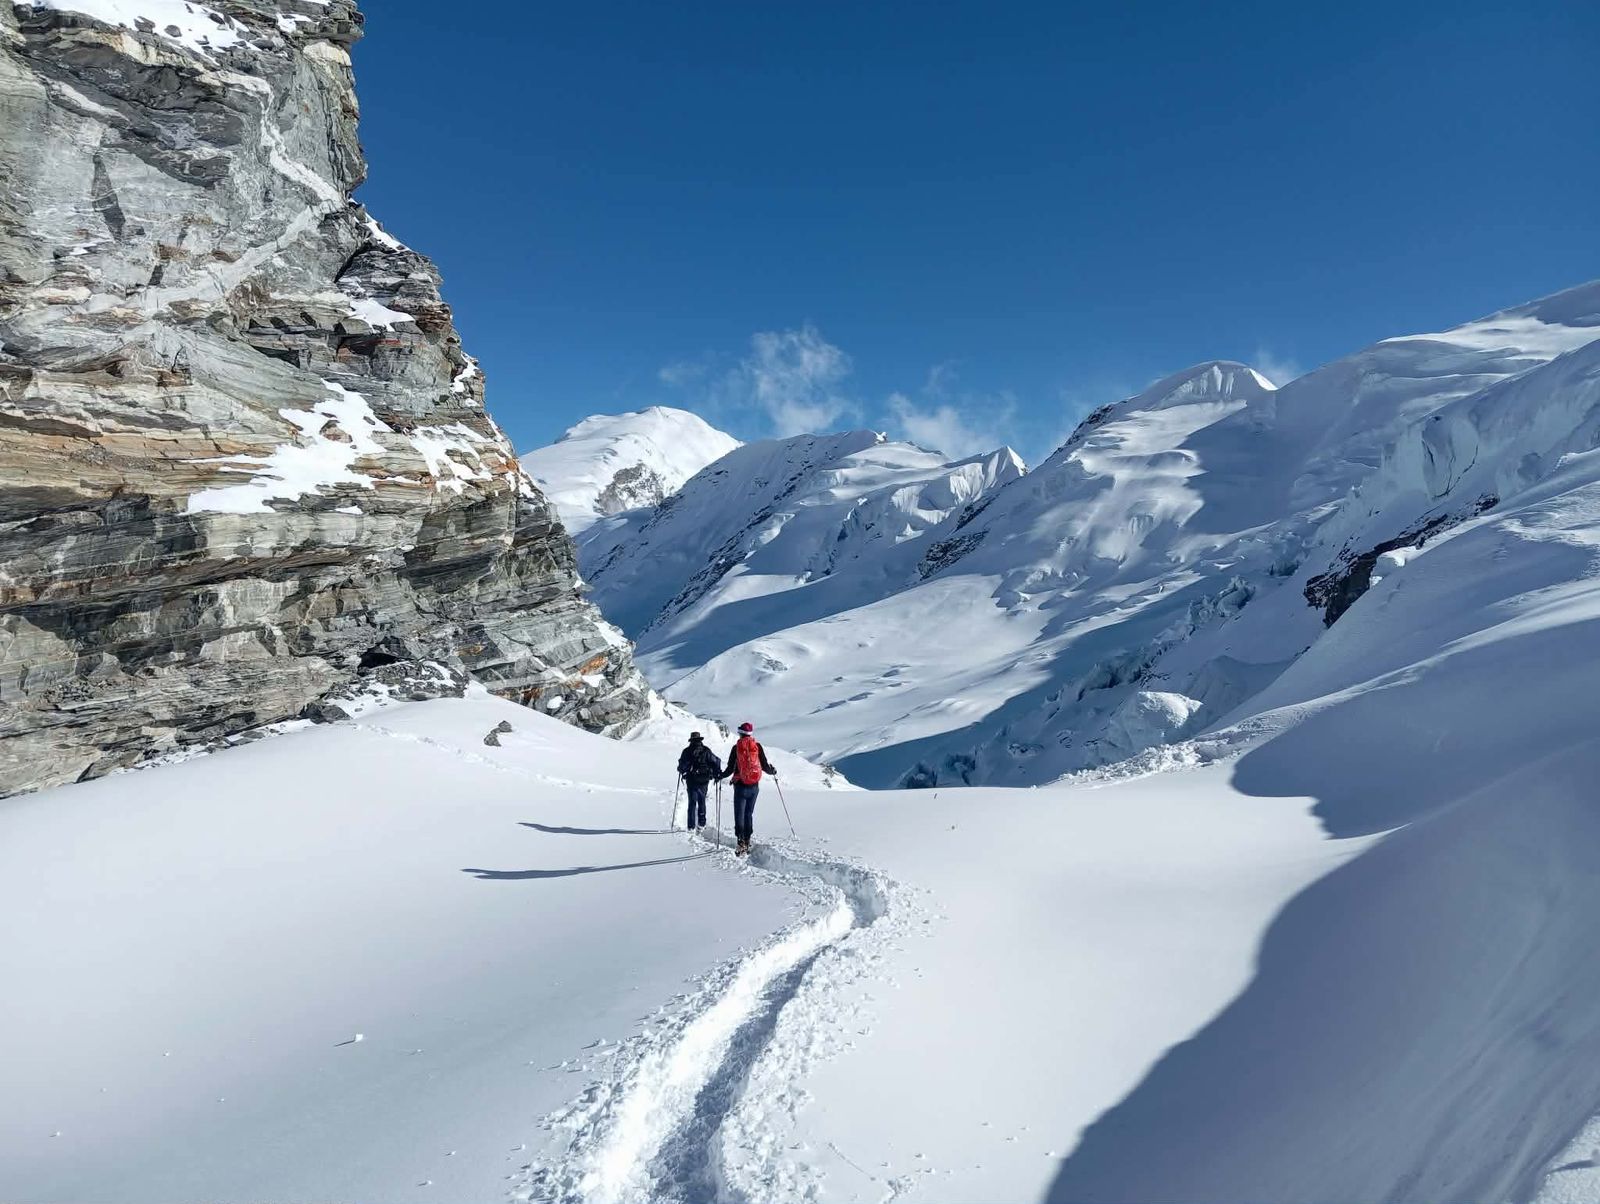
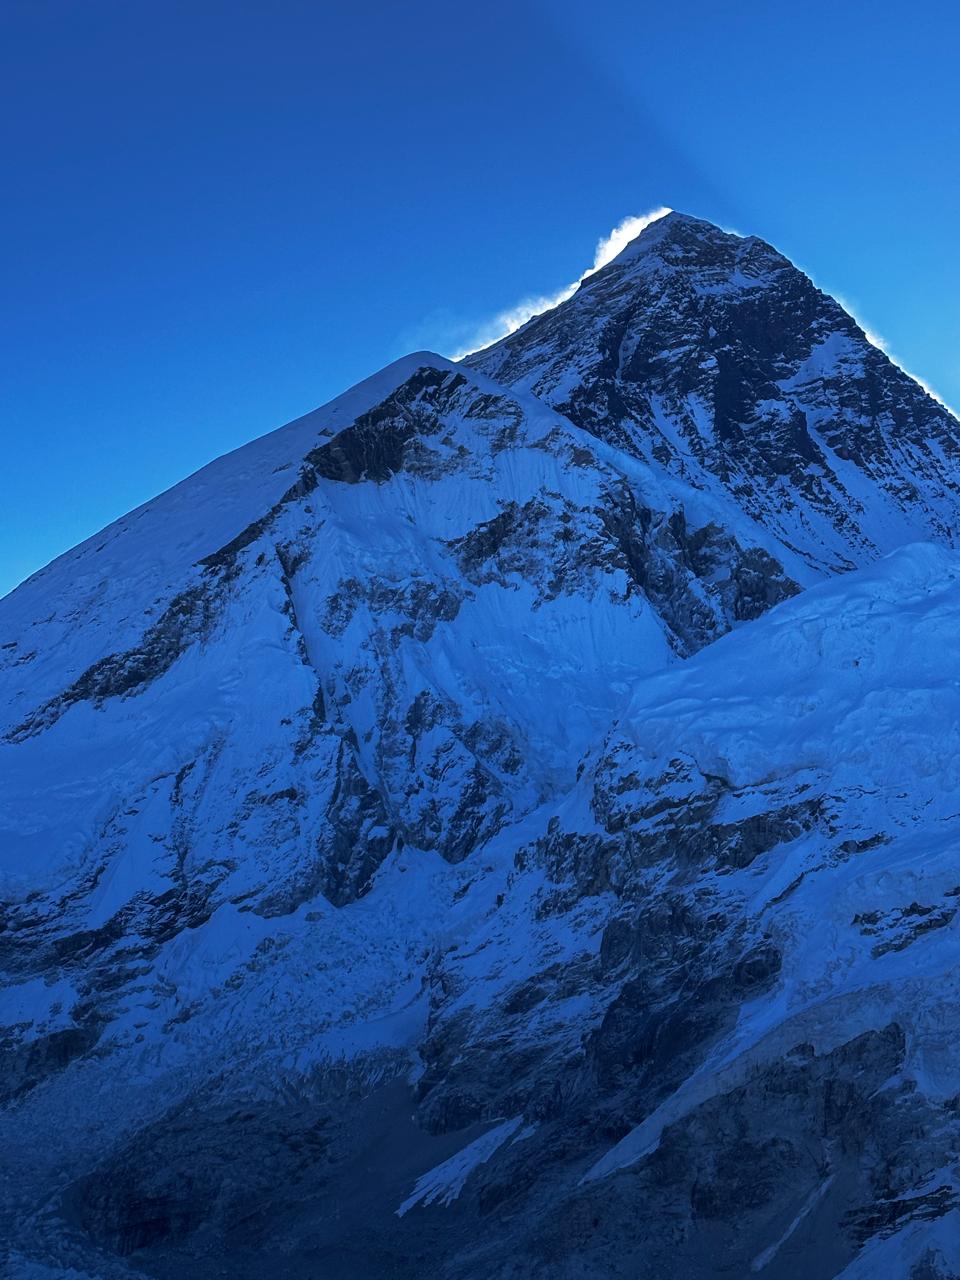
There is a moment just before dawn, high on a frozen ridge, when the world’s highest mountains begin to glow. You are clipped into a fixed rope, your breathing steady but labored in the thin air, as the first rays of sunlight set fire to the iconic peak of Ama Dablam. Behind you, the immense bulk of Lhotse and the summit of Everest itself pierce the jet-black sky. Below, the valley is a sea of ice and cloud. You are not just trekking; you are climbing. You are on Island Peak .
Locally known as Imja Tse, Island Peak (6,189m / 20,305ft) is one of Nepal’s most coveted “trekking peaks.” Its name is wonderfully descriptive: from the village of Dingboche, it appears as a solitary island emerging from a frozen ocean of ice and rock . For many adventurers, it represents the perfect bridge—a transition from avid trekker to technical mountaineer.
While often described as an “easy” 6,000-meter peak, that is a relative term in the Himalayas. This climb demands respect, preparation, and a healthy dose of courage. It combines the stunning cultural immersion of the Everest Base Camp (EBC) trek with a genuine mountaineering challenge: glacier travel, crevasses, and a steep headwall that requires the use of crampons and jumars .
Whether you are a seasoned hiker looking for your first taste of altitude or an aspiring Everest summiteer using this as a training ground, this guide will walk you through every step of the journey. We will cover the nitty-gritty of costs and permits, the physical and mental preparation required, and what it actually feels like to stand on that tiny summit, surrounded by the giants of the Khumbu.
Chapter 1: Understanding the Mountain – Difficulty, Seasons, and Statistics
Before you book a flight, it is vital to understand what you are signing up for. Island Peak is graded PD (Peu Difficile / A Little Difficult) on the Alpine grading system, with a “+” for the final headwall . But what does that actually mean for you?
1.1 Technical Difficulty
The climb is not technically extreme, but it is undeniably challenging.
- The Approach: The journey involves trekking for over a week just to reach Base Camp. This is as much a test of endurance as the climb itself.
- Glacier Travel: From High Camp, you will navigate the Imja Glacier. This involves walking on snow and ice, often roped up, navigating around crevasses .
- The Headwall: The crux of the climb is a 100-meter ice wall, often called the “Yellow Tower.” Depending on conditions, the slope can reach 45 to 80 degrees . This is where you will use a jumar (ascender) on fixed lines to pull yourself up. For many, this is the most thrilling and intimidating part of the climb.
- The Summit Ridge: Once over the headwall, you traverse a narrow, exposed knife-edge ridge to the summit. The drop on either side is severe, but the fixed ropes provide security .
1.2 The Best Time to Climb
Choosing the right season is critical for success.
- Spring (March to May): This is the most popular season. The weather is generally stable, temperatures are warmer, and the famous rhododendrons are in bloom at lower elevations. However, the trails are busier, and the climbing permit costs are higher .
- Autumn (September to November): Offers crystal-clear skies and fantastic visibility. It is colder than spring, especially on summit day, but the winds are often lighter, and the crowds have thinned out .
- Winter & Monsoon: Climbing during the winter (Dec-Feb) is possible but brutally cold with high winds. The monsoon (June-Aug) brings heavy snow and rain, making the route dangerous and unlikely to be attempted .
1.3 Fatality Rate and Safety
It is important to address the elephant in the room: risk. Island Peak has a low fatality rate (less than 1%), making it statistically safer than many other Himalayan peaks . However, deaths do occur, and they are almost always due to three factors:
- Altitude Sickness (AMS, HACE, HAPE): The number one cause of serious incidents. Climbers ignore symptoms and push for the summit .
- Falls: Slipping on the ice wall or ridge due to poor crampon technique or exhaustion.
- Objective Hazards: Unpredictable weather, hidden crevasses, or serac falls .
The takeaway: This is a real mountain. Success is not guaranteed, and safety requires humility. Listen to your body, listen to your guide, and be willing to turn back.
Chapter 2: Preparing for the Push – Training and Acclimatization
You cannot “tourist” your way up Island Peak. You need to be an athlete. The fitter you are, the more you will enjoy the experience, and the safer you will be.
2.1 The Physical Training Regimen
Start training at least 3 to 6 months before your departure . Your training should mimic the demands of the climb: long duration, with a loaded pack.
- Cardiovascular Endurance: The summit push takes 10-14 hours. You need a massive aerobic base.
- Activities: Long-distance running, cycling, swimming. Aim for 4-5 sessions a week.
- Stairmaster/Stair Climbing: This is your best friend. Do this with a weighted backpack (10-15kg) for 1-2 hours at a time .
- Strength Training: Focus on muscular endurance, not just power.
- Legs: Lunges, squats, step-ups.
- Core: Planks, leg raises. A strong core is essential for balance on uneven terrain with a heavy pack.
- Back and Shoulders: Rows and deadhangs to prepare for carrying a pack and using jumars on ropes .
- Weekend Hikes: Get out on the trails with your weighted pack. Practice walking uphill for 6-8 hours to condition your feet and mind.
2.2 Technical Skills
You don’t need to be a rock star, but you must be proficient in basic mountaineering skills. Your guide will hold a training session at Base Camp, but prior knowledge is a huge advantage.
- Cramponing: Learn to walk without tripping, and how to kick your front points into a steep slope.
- Rope Skills: Be comfortable using a jumar (ascender) to go up a fixed line, and an ATC or Figure-8 to rappel down. Know how to tie a Prusik knot for safety .
- Ice Axe Arrest: Know how to stop yourself if you fall on a snow slope.
2.3 The Art of Acclimatization
The itinerary is designed around one thing: getting your body used to the lack of oxygen.
- The Golden Rule: Climb High, Sleep Low: You will spend days hiking to a higher altitude and then descending back to camp to sleep. This stimulates your body to produce more red blood cells .
- Hydrate, Hydrate, Hydrate: You need to drink 4-5 liters of water per day. Dehydration feels like altitude sickness and vice versa. Don’t let that happen .
- Medication: Many climbers use Diamox (Acetazolamide) to help prevent AMS. Consult your doctor about dosage and potential side effects (it makes your fingers and toes tingle) .
- Listen to Your Body: Know the symptoms of AMS (headache, nausea, dizziness), HAPE (fluid in lungs, gurgling breath), and HACE (fluid in the brain, loss of coordination, confusion). The only real cure for severe altitude sickness is descent .
Chapter 3: The Paperwork – Permits, Costs, and Red Tape
Climbing in a National Park requires a lot of official documentation. Most of this is handled by your trekking agency, but it is wise to know the costs involved.
3.1 Required Permits
You cannot just show up and climb. You need:
- Island Peak Climbing Permit: Issued by the Nepal Mountaineering Association (NMA). The cost varies by season: $250 in Spring, $125 in Autumn .
- Sagarmatha National Park Entry Fee: $30 per person .
- Khumbu Pasang Lhamu Rural Municipality Fee: A local tax of $20 .
- TIMS Card (Trekkers’ Information Management System): $10 .
- Garbage Deposit: A $500 deposit is required, which is refunded when you prove you’ve brought your waste back from the mountain .
3.2 Total Cost Breakdown
So, how much does it actually cost? For a full-service, guided expedition, you can expect to pay between $2,450 and $3,500 .
What’s Included (in a typical package):
- Domestic flights (Kathmandu – Lukla – Kathmandu)
- 3 nights hotel in Kathmandu
- Teahouse accommodation during the trek
- All meals (breakfast, lunch, dinner) on the trail
- Experienced, licensed trekking and climbing guides (Sherpa)
- Porter service for your main duffel bag
- All permits and fees listed above
- Group climbing gear (ropes, ice screws)
- Base Camp tent accommodation (dining tent, kitchen tent)
What’s NOT Included (Your additional budget):
- International flights to Nepal ($800 – $1,200)
- Nepal Visa ($50 for 30 days)
- Travel Insurance (Mandatory, must cover helicopter evacuation up to 7,000m)
- Personal climbing gear (boots, harness, etc.)
- Tips for guides and porters ($150 – $200 is standard)
- Hot showers, battery charging, Wi-Fi on the trail
- Lunches and dinners in Kathmandu
Chapter 4: The Journey – A Day-by-Day Itinerary
The magic of Island Peak is the journey to get there. Here is a typical 17-day itinerary that blends the classic EBC trek with the climb.
Part 1: The Trek In
- Days 1-2: Kathmandu (1,400m): Arrival, gear checks, and last-minute shopping in the bustling streets of Thamel .
- Day 3: Fly to Lukla (2,860m) & Trek to Phakding (2,610m): The infamous landing at Lukla airport is an adventure in itself. A short, easy walk to Phakding to start the trek.
- Day 4: Trek to Namche Bazaar (3,440m): A steep uphill day crossing high suspension bridges, culminating in your first view of Everest.
- Day 5: Acclimatization Day in Namche: Hike to the Everest View Hotel for your first panorama of the giants. Rest is crucial here .
- Day 6: Trek to Tengboche (3,867m): A beautiful descent and final climb to the famous Tengboche Monastery, with stunning views of Ama Dablam.
- Day 7: Trek to Dingboche (4,360m): Entering the high alpine zone. The trees disappear, replaced by scrub and massive mountain views.
- Day 8: Acclimatization Day in Dingboche: A short hike up the ridge behind the village to help adaptation .
- Day 9: Trek to Chhukung (4,730m): A short walk further up the valley. This is your launching point for the mountain.
Part 2: The Climb
- Day 10: Trek to Island Peak Base Camp (5,100m): A few hours walk across moraine to a makeshift campsite at the foot of the glacier. In the afternoon, your guides will give a training session on using crampons, ice axes, and jumars .
- Day 11: Base Camp to High Camp (5,600m): A steep, grueling climb up a rocky moraine to High Camp. This is a basic camp on the glacier itself. Go to bed early; the summit push starts soon .
- Day 12: Summit Day (6,189m) and return to Chhukung: The biggest day of your life.
- 2:00 AM: Wake up, drink hot tea, and force down some breakfast.
- 3:00 AM: Headlamps on. You start climbing the glacier in the dark, roped up.
- Dawn: You reach the base of the headwall. The sky lights up. You put on your jumar and start the steep climb.
- Summit: After the ridge, you are there. Embrace your guide. Take photos. You are above 8,000-meter peaks.
- Descent: The most dangerous part. Rappel down the headwall and carefully pick your way back to High Camp, then all the way down to Chhukung. You will be walking for 12-14 hours .
Part 3: The Journey Home
Days 13-17: The Retrace: Follow the same route back down the valley to Lukla, celebrating each step with decreasing altitude. Fly back to Kathmandu for a well-deserved hot shower and a steak dinner .
Chapter 5: Gearing Up – The Ultimate Packing List
Packing for Island Peak is a science. You need to be warm, safe, and mobile. You can rent heavy technical gear (boots, down suit) in Kathmandu or Chhukung to save on luggage costs .
The Layering System
- Base Layers (Wicking): 2-3 long-sleeve merino wool tops, 2 pairs thermal bottoms. NO COTTON .
- Mid Layers (Insulation): A fleece jacket, a light-weight down jacket (for camp), and a heavy-weight down suit or expedition parka for the summit push .
- Shell Layer (Protection): A waterproof/breathable Gore-Tex jacket and pants. This is your shield against wind and snow .
The Feet
- Mountaineering Boots: The most important decision. You need insulated, double-plastic boots rated to at least -20°C (e.g., La Sportiva G2 SM, Scarpa Phantom Tech) .
- Socks: Liner socks (thin silk/synthetic) to prevent blisters, and thick wool trekking socks. Pack at least 5 pairs.
- Gaiters: To keep snow out of your boots .
Technical Gear
- Crampons: 12-point steel, must be compatible with your boots .
- Ice Axe: A technical ice axe (50-60cm) .
- Harness: An alpine climbing harness with adjustable leg loops .
- Helmet: UIAA/CE certified .
- Carabiners & Slings: 4 locking screw-gate carabiners, 2 non-locking, 2 prusik loops .
- Ascender (Jumar): For climbing the fixed ropes .
- Belay Device (ATC/Figure 8): For rappelling down .
Accessories (Critical)
- Headlamp: With fresh batteries and spares. Essential for the 3 AM start .
- Sunglasses & Goggles: Category 4 glacier glasses for the snow, and ski goggles for the windy summit push .
- Sunscreen & Lip Balm: SPF 50+. The sun at altitude is brutal.
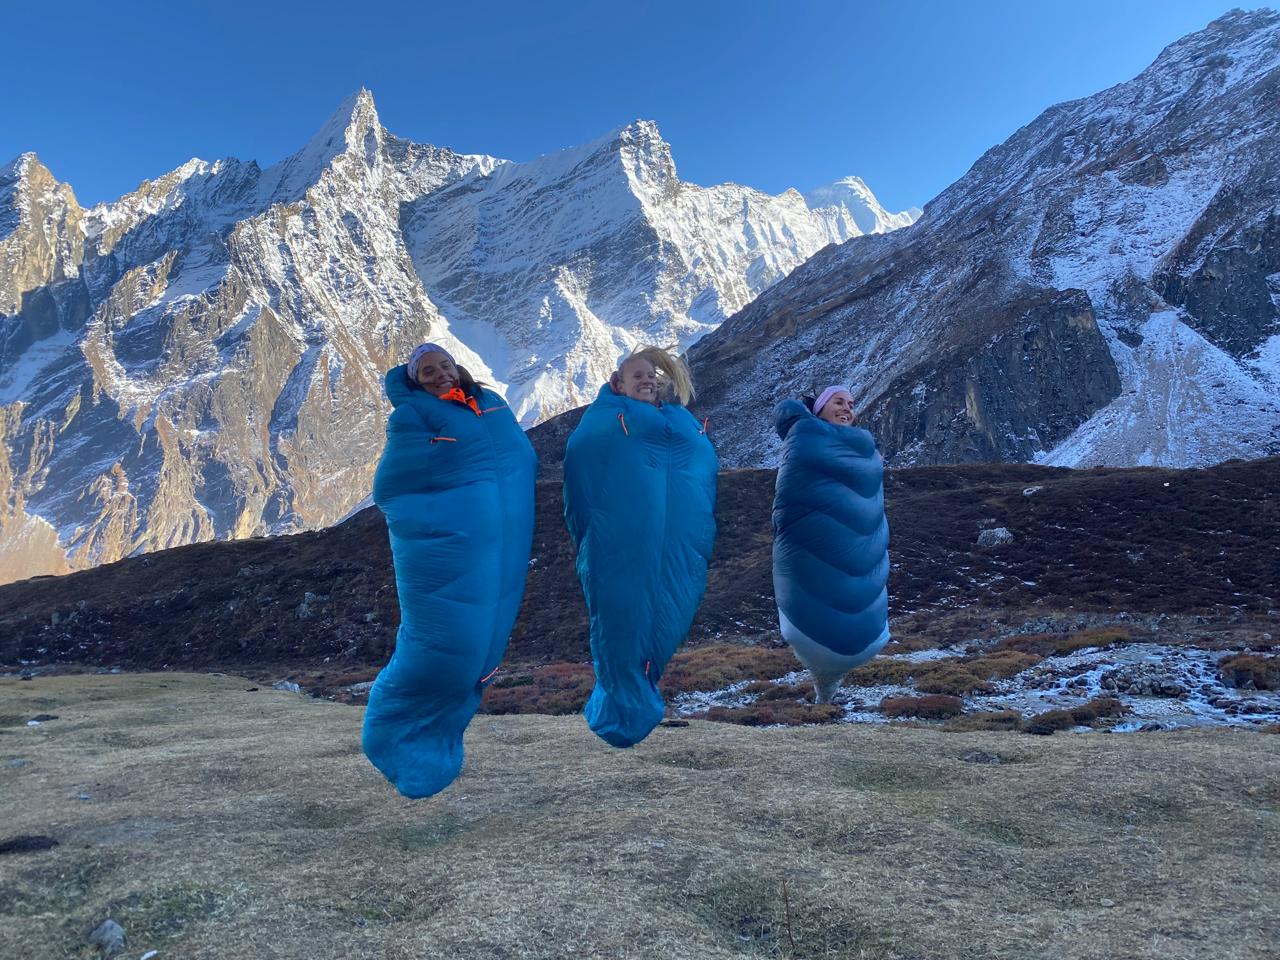
- Water Bottles: 1-liter wide-mouth Nalgene bottles are best. They won’t crack when they freeze, and you can put hot water in them at night to put in your sleeping bag .
- Thermos: For hot drinks on summit morning.
Chapter 6: Stories from the Ice – A Personal Reflection on the Summit Push
To make this guide truly human, let’s step into the boots of a climber on that final morning.
The 2 AM alarm is a wretched sound. You are sleeping at 5,600 meters in a tiny tent, your breath frosting the inside of the fabric. You are wearing every layer you own, and you are still cold. Your mind races: Why am I doing this?
But then you unzip the tent. The sky is an explosion of stars, so close you feel you could touch them. The jet-black silhouette of Lhotse looms overhead. Your guide, Phurba, hands you a cup of sweet, hot tea. “Okay, sir?” he asks, with a smile that suggests he has done this a hundred times. You nod, because it’s easier than explaining the fear.
You click on your headlamp and join the chain of lights snaking up the glacier. The only sounds are the crunch of crampons on ice and your own heavy breathing. You focus on the beam of light in front of you, placing one foot in front of the other. “Climb high, sleep low,” you mutter, a mantra against the fatigue.
You reach the base of the headwall just as the sky turns from black to deep blue, then pink. You look up. It is a wall of blue ice, stretching up into the clouds. It is terrifying. Phurba clips you into the fixed rope. “Jumar up. Don’t look down.” You kick your front points into the ice, slide the jumar up the rope, and stand. Kick, slide, stand. The world narrows to the next kick, the next inch. Your arms burn. Your lungs burn. But you feel a fierce, primal joy.
Then, suddenly, the angle eases. You are over the wall. The summit ridge stretches before you, a knife-edge of snow. You walk it carefully, deliberately, and then… there is nowhere else to go. You are on top.
The wind is howling, but you don’t feel it. You are wrapped in the warmth of achievement. Everest is a plume of snow to the north. Makalu floats on the eastern horizon. Ama Dablam, that perfect peak you have stared at for days, is now far below you. You hug Phurba. You have done it. The “island in the sky” is under your feet.
The descent is a long, brutal trudge. The euphoria fades, replaced by exhaustion. Your knees scream. You trip on your crampons. The trail back to Chhukung seems to go on forever. But when you finally collapse into a teahouse chair and someone puts a cold beer in your hand, you feel a deep, bone-level satisfaction. You are a different person than the one who left.
Conclusion: More Than Just a Summit
Climbing Island Peak is a commitment. It requires your money, your time, your sweat, and your courage. It is a journey through the heart of Sherpa culture, past prayer flags and ancient monasteries, to the very edge of the earth’s ability to support human life.
It is a profound teacher. It teaches you patience during acclimatization, resilience in the face of exhaustion, and humility in the face of the mountains. It strips away the noise of modern life and leaves you with something essential: the rhythm of your breath, the support of your team, and the raw beauty of the natural world.
Whether you stand on the summit or make the wise decision to turn back, you will leave the Khumbu with a new understanding of yourself. So, train hard, pack smart, and go with respect. The island is waiting.
Frequently Asked Questions (FAQs)
Q: Is Island Peak a “walk-up”?
A: Absolutely not. While it is considered a trekking peak, it involves steep ice climbing (using ropes and jumars), glacier travel, and serious exposure. It is a mountaineering expedition .
Q: Do I need prior climbing experience?
A: While some do it as their first climb, it is highly recommended to have experience with basic cramponing and altitude. At a minimum, you should be extremely fit and attend the guide’s training sessions with focus .
Q: What if I get altitude sickness?
A: Your guides are trained to spot symptoms. The only treatment for severe AMS is immediate descent to a lower altitude. Always be honest with your guide about how you are feeling .
Q: Can I rent gear in Nepal?
A: Yes. You can rent almost everything in Kathmandu (boots, down suit, sleeping bag, crampons). The quality varies, so rent from a reputable shop. It is a great way to save money and luggage space .
Q: How heavy is my pack?
A: Porters will carry your main duffel (up to 12-15kg) during the trek. You will carry a daypack (30-40L) containing your water, snacks, camera, and extra layers. On summit day, your daypack will be light but vital. Have a safe journey make fun!